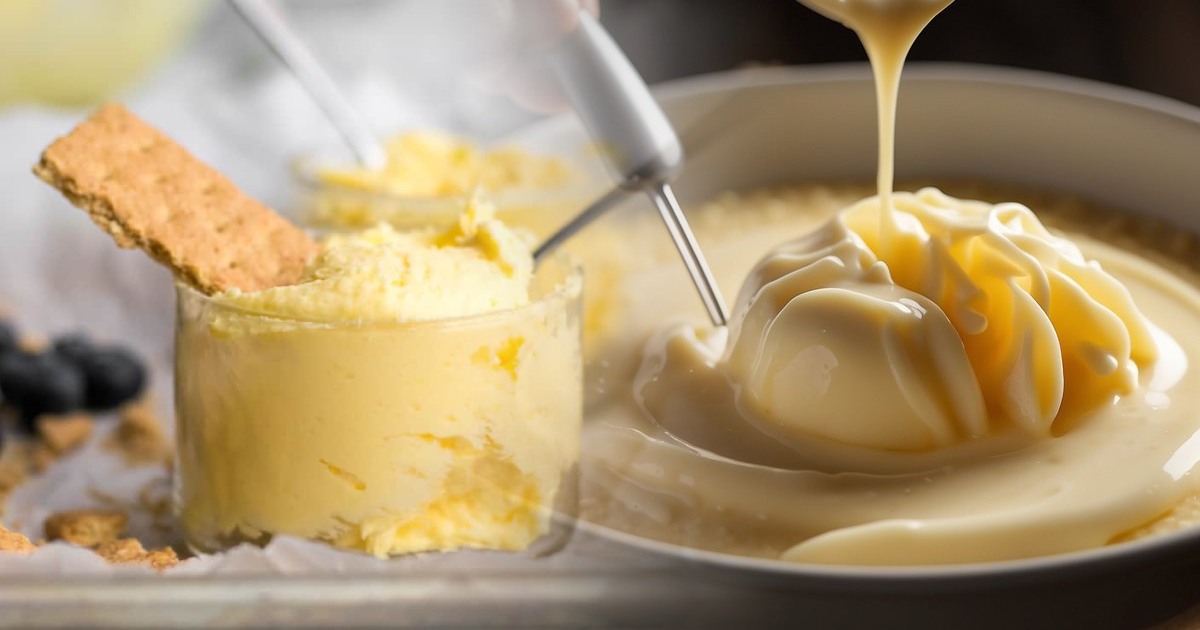
Stabilized Whipped Cream Recipe
The Biggest Cream Charger Knowledge Base Online
Have you ever made whipped cream, and then it deflated or started weeping, as in becoming watery a couple of hours later? Then you probably have to start trying stabilized whipped cream more often!
This guide will teach you how simple it is to make whipped cream that holds its shape for days!

How to Make Stabilized Whipped Cream?
Are you expecting guests at home, and are you hoping to surprise them all with an absolute divine topping? The following steps will make you very happy if you want to make the perfect whipped cream for piping on cakes, cupcakes, and cheesecakes.
First and foremost, there are some critical instructions you should consider before passing on the step-by-step. These apply to all whipped cream recipes you have in mind.
- Use heavy whipping cream. Since light cream doesn’t have enough fat to create great peaks, we recommend using heavy cream with over 35% fat content. High-fat content is essential because it allows the cream to get stiff.
- Ensure all utensils are cold – When the cream is too warm, the fat loses its ability to stabilize with the air you’re whipping into it. To prevent it from deflating quickly after being beaten, put the bowl, whisk, and cream in the freezer for 20 minutes before you want to start. 5 to 10 minutes is also possible.
- Use the proper bowl: Heavy whipping cream splatters a bit while whisking it. The bowl needs to be large enough to accommodate the increase in size.
- Add the sugar when the cream is thickened, just before the soft peak stage. Preferably powdered sugar for a better end.
- Watch your whipping! – Speed is essential when you need to whip a bowl full of liquid cream. Start on low speed and gradually increase the intensity as it gets thicker. Whipped cream goes from soft peaks to firm peaks in the blink of an eye. We don’t want to overdo the work.
- Stay nearby and instead use an electric hand mixer. Many would prefer a stand mixer rather than a hand mixer. Understandable. But if you do not want your mix to turn into butter, you better whisk by hand.
- Do you need your whipped cream to be long-lasting at room temperature? Then it would be best if you used a stabilizer such as unflavored liquified gelatin, cream cheese, or mascarpone cheese. Add any of the previous to the heavy cream after you whip it.
- If using gelatin, use a 1:3 ratio of granulated gelatin. Place three teaspoons of cold water in a small bowl. Add the gelatin to the water and let it sit for five minutes. Stir to combine and microwave in 10-second bursts, stirring each time, until the gelatin has dissolved. Let it cool, but not set. Pour this mix into the heaving just before you finish whisking.
- If using cream cheese or mascarpone, replace the gelatin with 1/2 cup of either cheese.
Now that you know a series of tips that come in handy before you get your hands dirty and will ease the work let’s continue with the step-by-step without further ado.
Preparing Stabilized Whipped Cream
Ingredients:
- Heavy Whipping Cream (1 cup)
- Coldwater
- 3 tsp. Powdered sugar
- 1/2 tsp. Vanilla
- Unflavored gelatin
Tools:
- Bowl (Don’t forget to put it before in the freezer as instructed above)
- Whisk (or hand mixer)
- Vanilla extract
Step 1: Chill your bowls and beaters – The colder your ingredients when you make your whipped cream, the quicker it will thicken, and it can even increase the volume of your whipped cream.
Step 2: Pour a few tablespoons of water into your bowl and sprinkle a teaspoon of gelatin. Let it sit for a few minutes.
Step 3: Place the bowl with gelatin in the microwave and warm it up for 1 to 5 seconds. Once you take it out, stir a little bit and set it somewhere to cool down.
Step 4: While the gelatin preparation is cooling, start with making whipped cream—a simple mix of heavy whipping cream, powdered sugar, and vanilla extract. Make sure you create good soft peaks while beating the whipped cream.
Find out here How to Make the Homemade Whipped Cream
Step 5: Is your soft peak on point? Pour the cooled gelatin mixture slowly into your whipped cream and mix it very well. If you use a hand mixer, pour the gelatin mix little by little to avoid lumps.
Step 6: Are you still beating and getting stiff peaks? Good news! You can now serve or pope it on your dessert!
- This whipped cream will hold up fine at room temperature for a couple of hours. Still, it’s best to keep your dessert refrigerated and avoid leaving it anywhere too warm for too long.
Are you excited for more? How to Make Flavored Whipped Cream is the next best thing you can try at home. Quick & easy!
Making Stabilized Whipped Cream with Nitrous Oxide
Was this too easy, and do you want to high the level of complexity? A cream charger like ExoticWhip and a cream siphon are two tools that can blow your mind. The outcome is spectacular!
We invite you to go through our blog posts to learn more about the multiple applications of nitrous oxide as a food additive.
May you be interested in buying nitrous oxide in bulk for food purposes? We hear you! Fill in the form to become a distributor, and a sales representative will get back to you as soon as possible.


